Scrap Bag Sampler is back!

Here are the cutting instructions for the advent sewalong which starts on 1 December on Instagram. Each day a clue will be released on Instagram with a photograph of that day’s finished unit(s) and the aim is to sew for about ten minutes every day in the lead up to 25 December. The theme is Valentines so that there is no pressure to quilt and finish the panel by 25 December. You can make a cushion, mini quilt or tote from the finished 15” panel. I have added borders to make an 18” cushion panel.

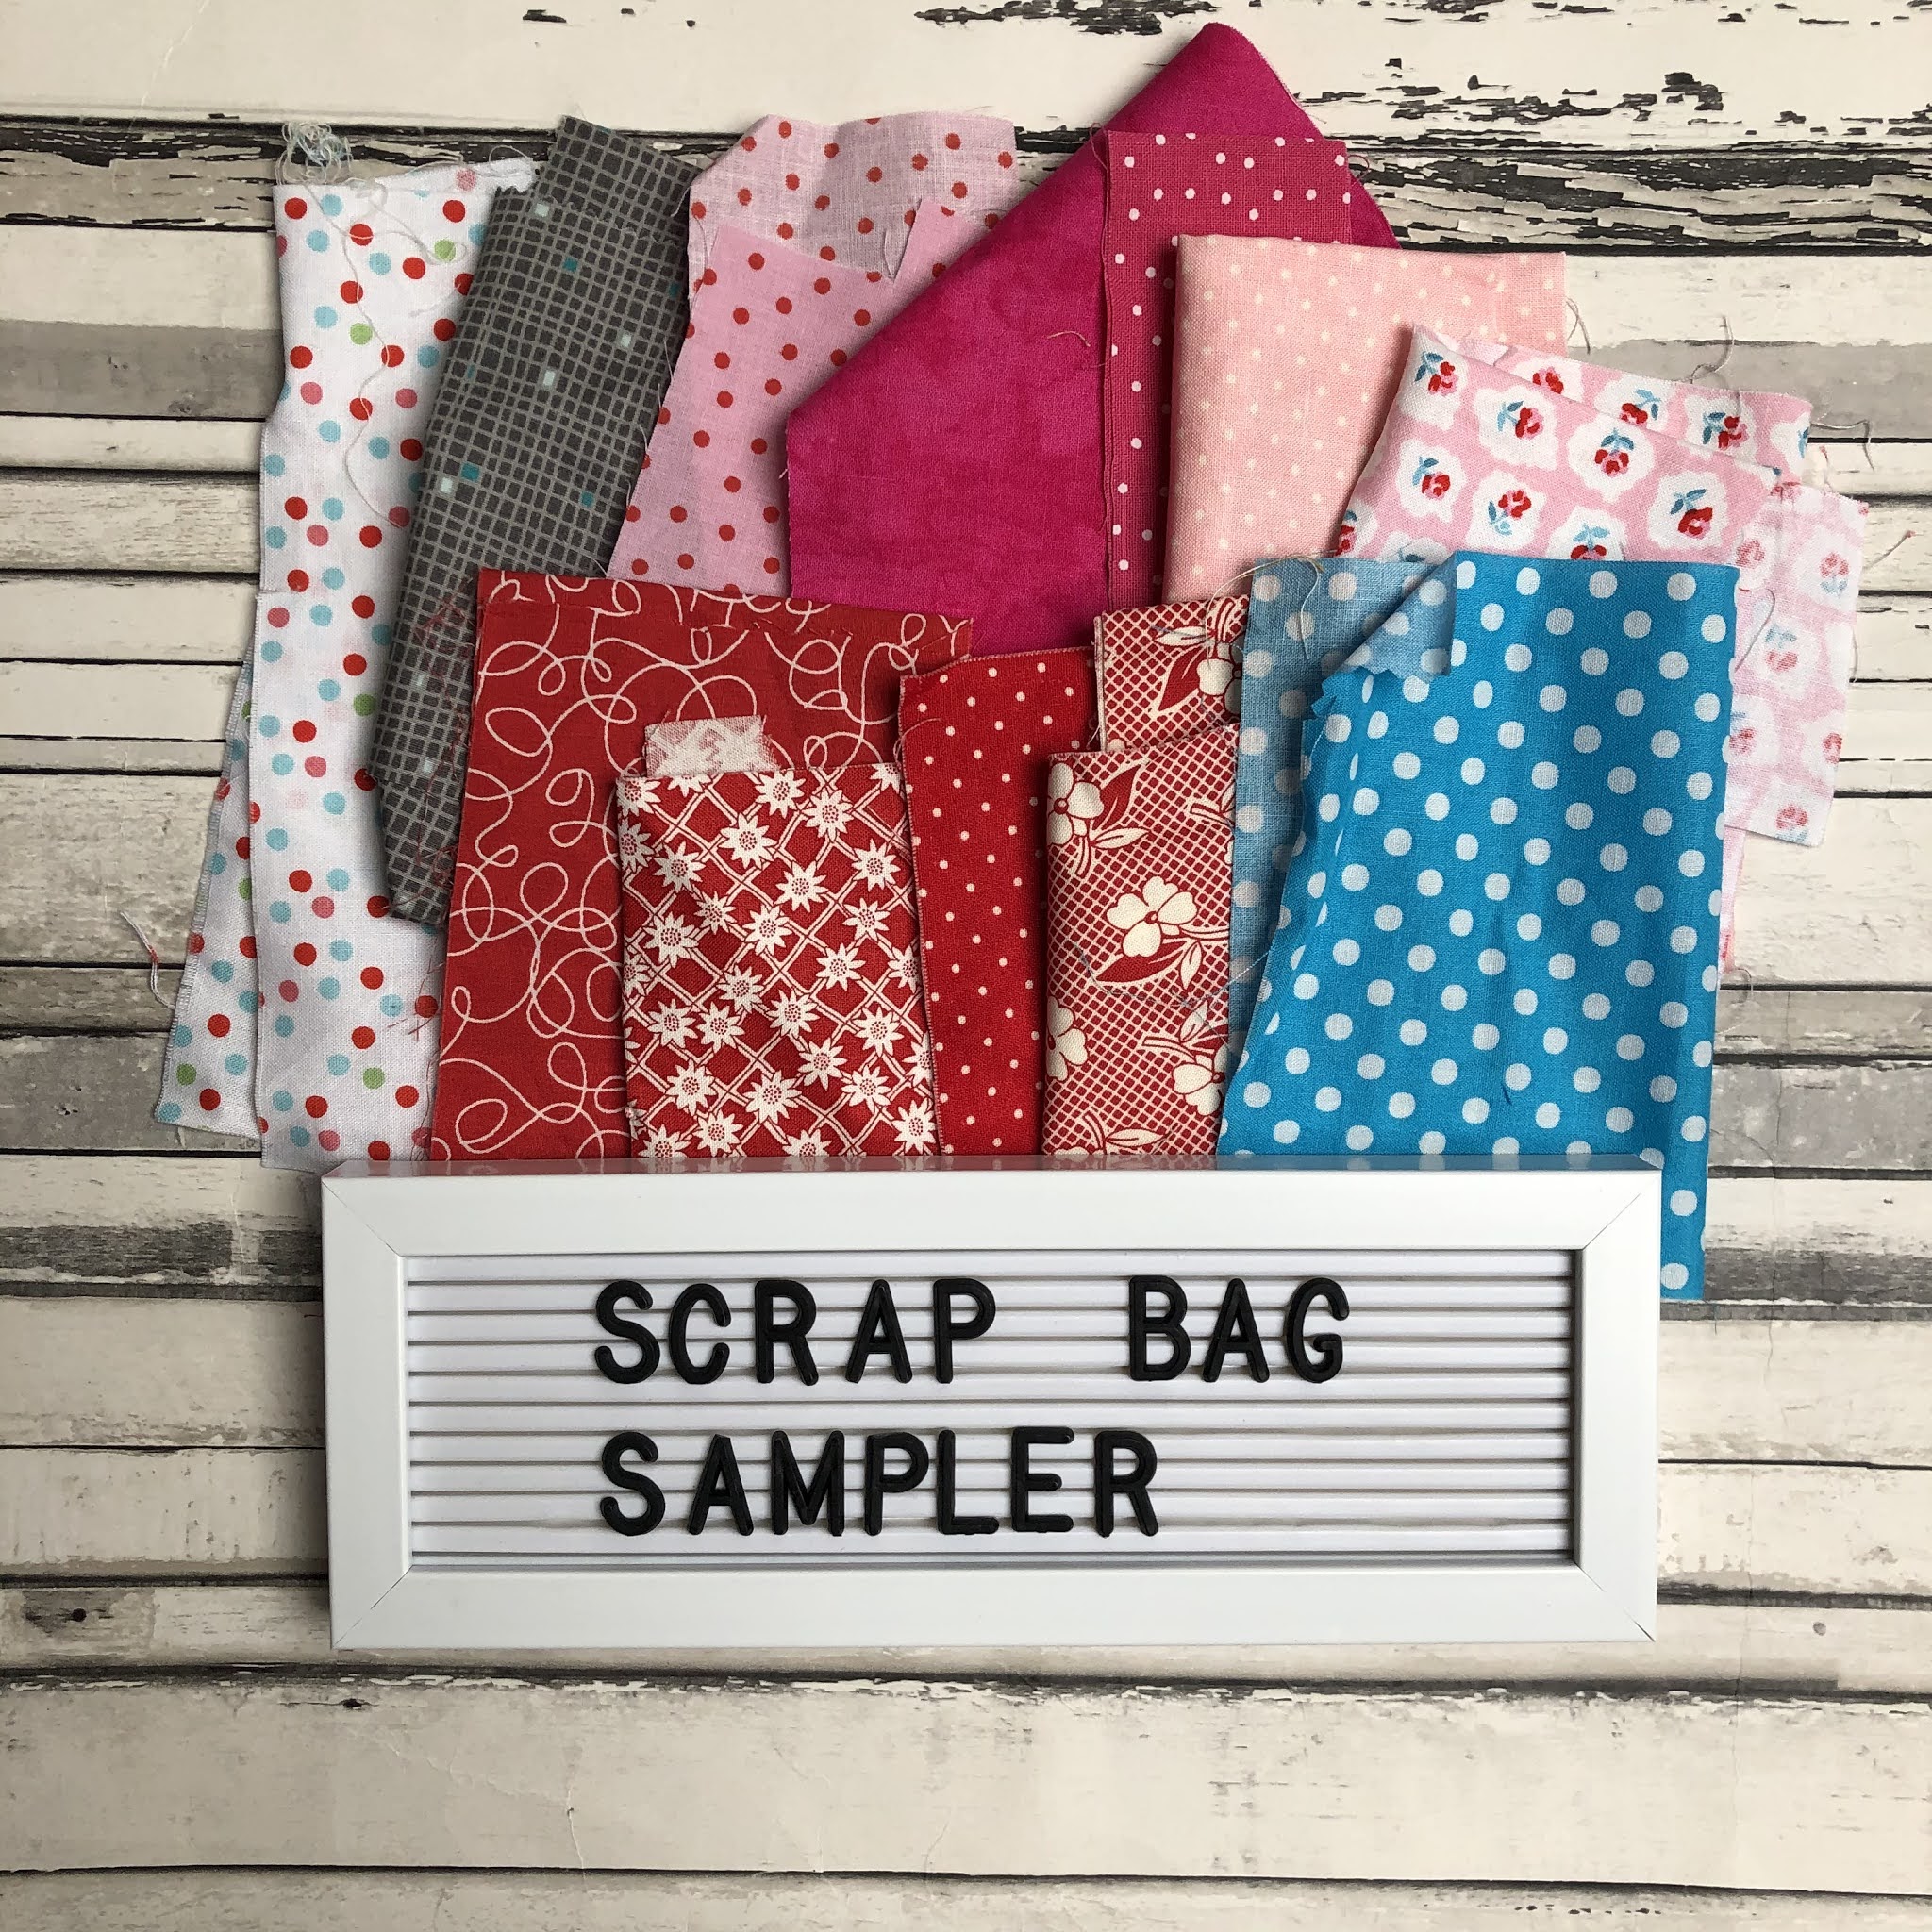
If you add a border to your piece, you will need half a metre of background fabric and scraps of other colours. You can go full on scrappy or not. I have used one fabric for the aqua, red and grey and scrappy for pieces N and S. The cutting took me less than 90 minutes and the sewing will take no more than ten minutes per day apart from day 10.

FabricQuantitySizeNumberLabel
Background401 ¼  ” squares A
 161 ½  ” squares B
 41 ¾” by 3” C
 121 ¾” squares D
 11½” by 7” rectangle E
 82 ¼” squares F
 41 ½” by 5.5” rectangles G
 41 ½” by 6.5” rectangles H
     
     
Red21 ¾” by 3” rectangle K
 11 ¾” by 3” rectangle L
 21 1/8” by 1 ¾” rectangle M
     
Pink42” squares20 in total from 1 or 5 fabricsN
 41 1/8” squares P
 41 1/8” squares Q
 41 ¾” squares R same fabric as P&Q
     
Mix of pink and red202 ¼” squares S
 213/16” by 3” rectangles T
     
Aqua21½” by 7” rectangle U
 81 ½”by 3 ½” rectangle  V
Grey41 ¾” by 5 ½”rectangle W
     

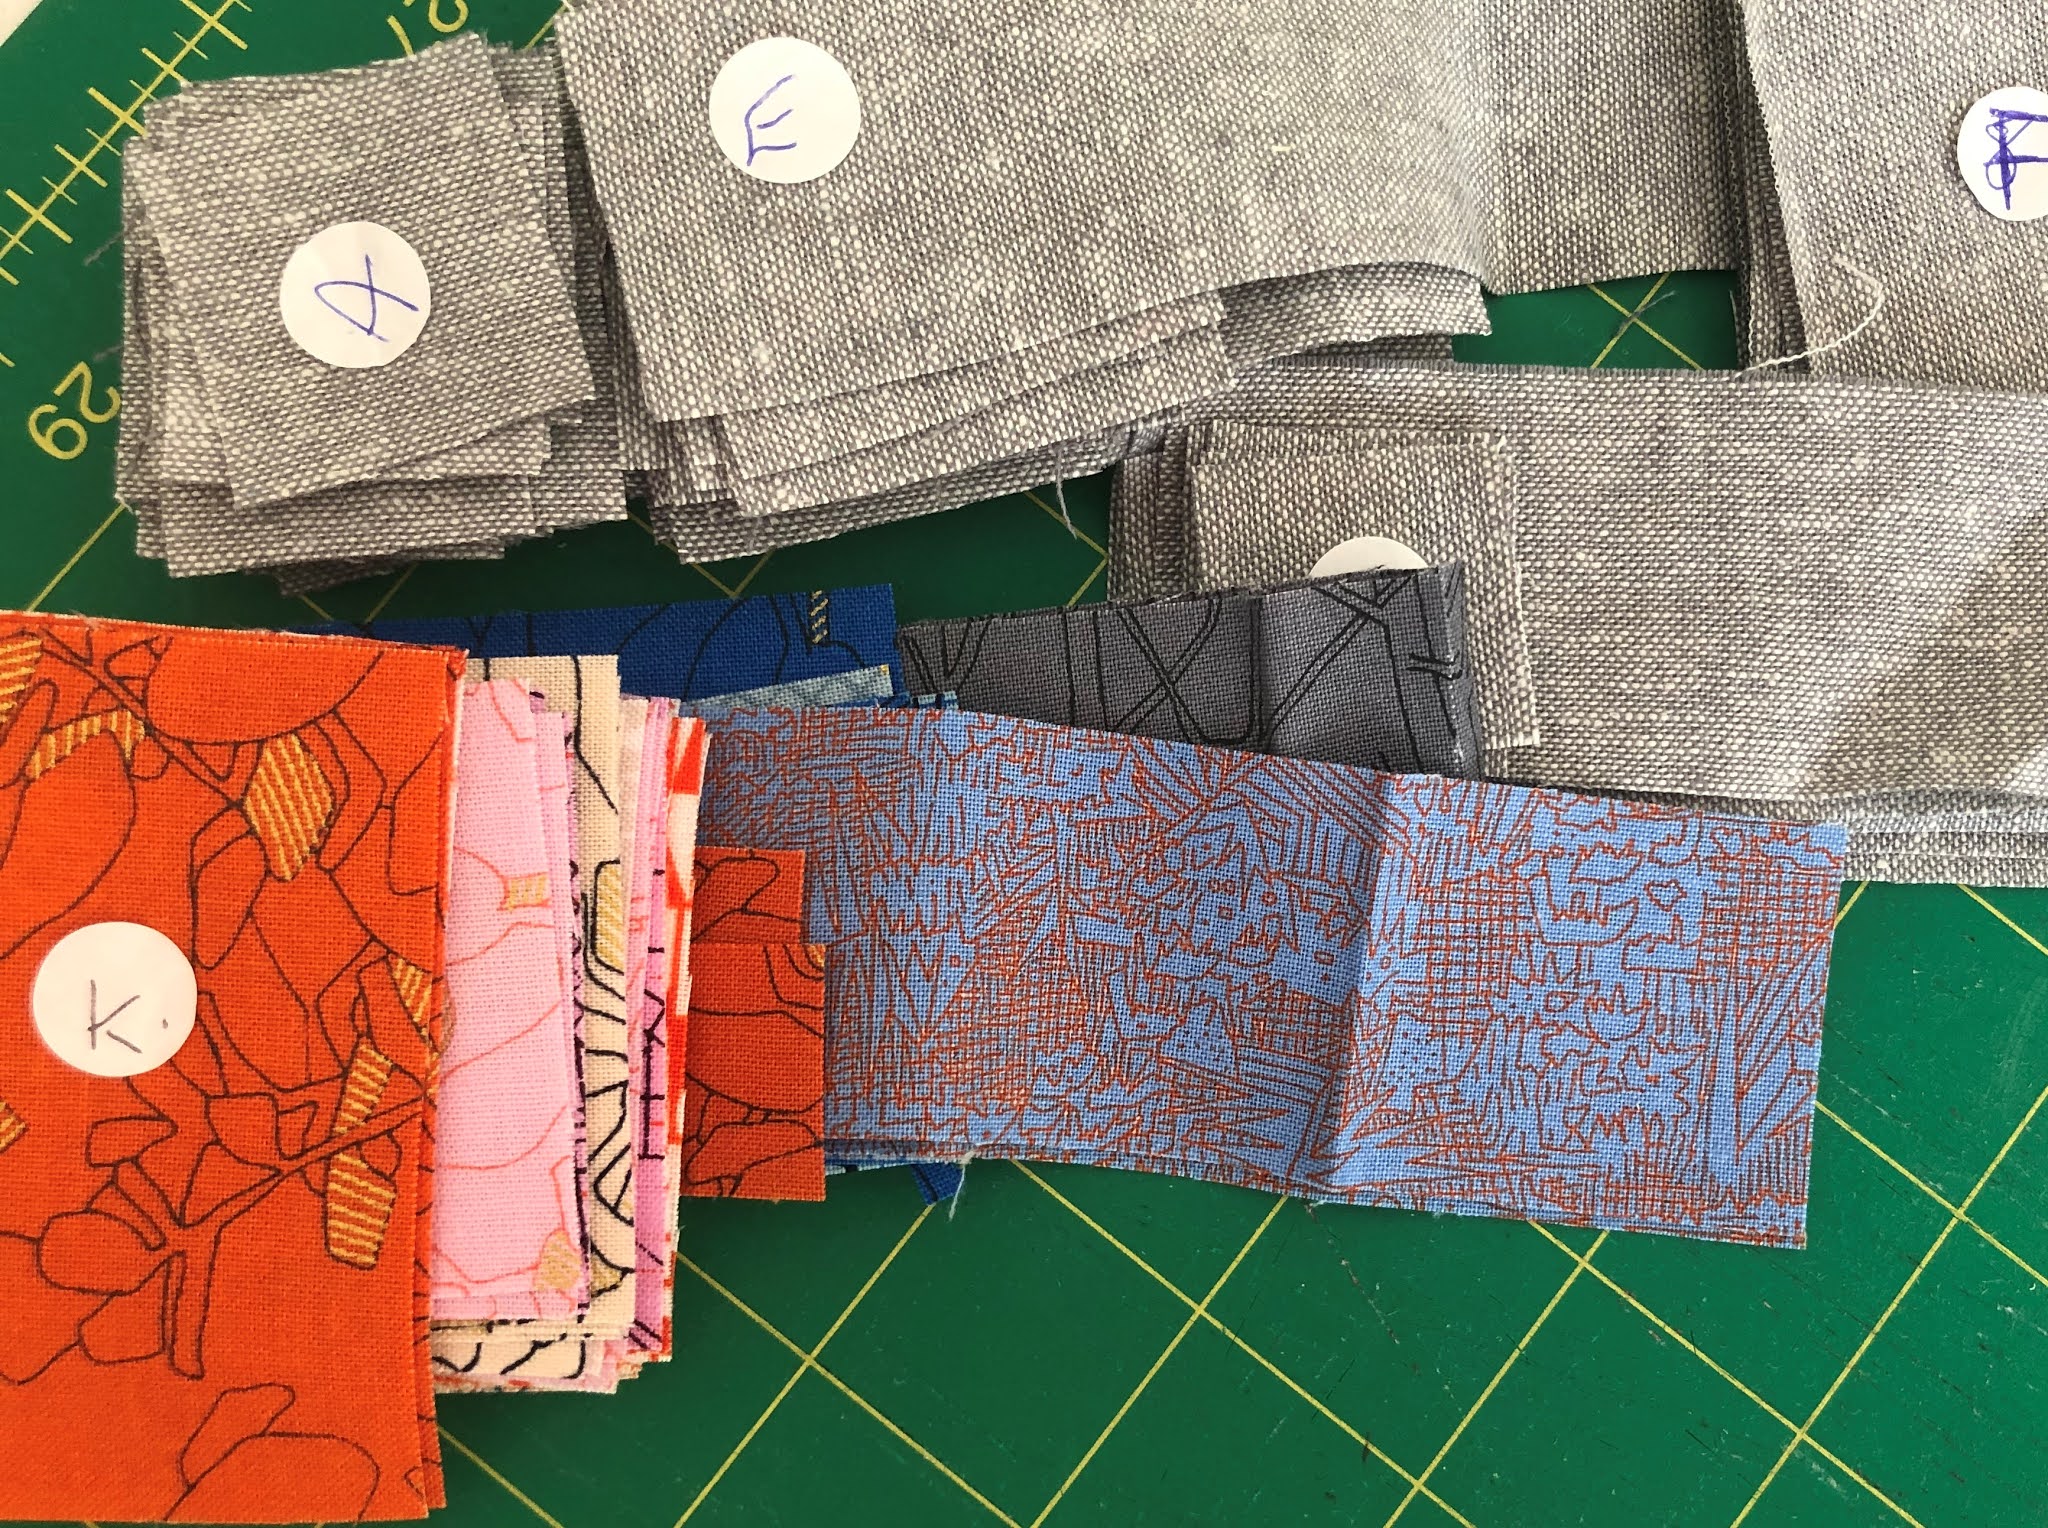
Amanda (@metroquilter) loves Carolyn Friedlander fabrics and who can blame her. She stash dived for scraps and charm squares for the sewalong.

Here are her pieces all cut and ready to go with a linen background.

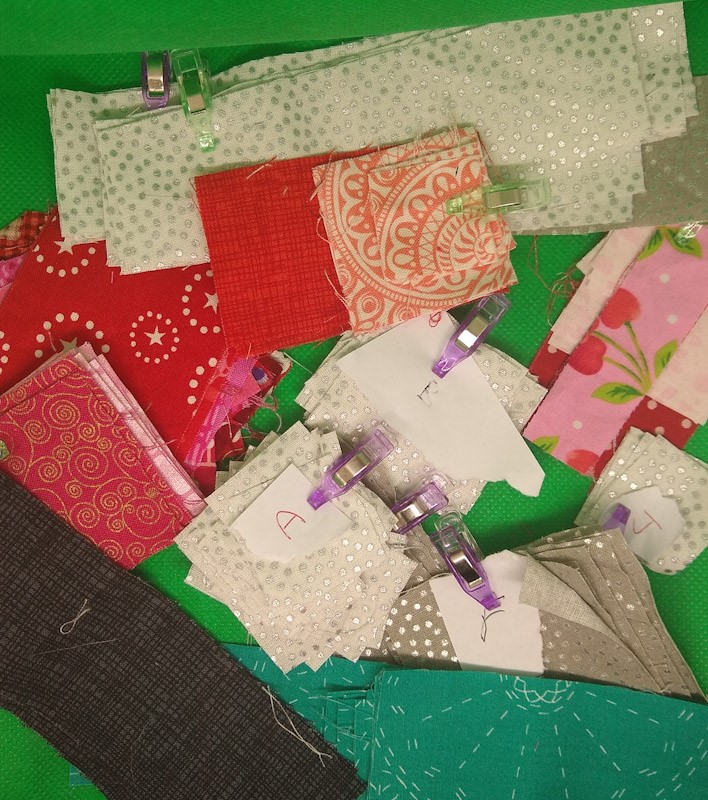
Pippa (@pippaspatch) has channeled her inner sparkle for her choice of background. I have that red stars and spots fabric. I wonder if I used any of it in my project? Both Amanda and Pippa have sensibly chosen a dark grey, my original choice (not in my photograph) was too light and not enough contrast with the background.

Kim (@getahashtagkim) has chosen these gorgeous purples – not a turquoise in sight! She is making this as a gift for a friend, so has chosen a palette that her friend will like. Dots and fossil fern, you can’t go wrong.

Do post your fabric choices on Instagram using #scrapbagsampler . Other people’s scraps are always more interesting than one’s own scraps.

Visit our designers on Instagram to see their fabric choices : @cotefleurie @getahashtagkim @JustSewSue @lisasew @metroquilter  @picosailors @pippaspatch @quirkyhannah @therunninghare

Scrap Bag Sampler Week 10 – Tete a Tete


Tête-à-tête Blocks by @surfseasew

I can’t believe it is week 10 already?! How is everyone getting on with their blocks. This week you have the lovely Gill with her Tete-a-tete blocks, not just one but too versions. Handing over to Gill…

March was my mum’s birthday month and she would plant lots of the miniature Tête-à-tête narcissus in pots to brighten up her doorstep so this was the inspiration for my block design.

I have designed Two 6 ½” x 6 ½“ square Tête-à-tête blocks: A beginners’ version and one a bit more advanced so take your pick or do both – I hope you enjoy sewing the block and it’ll be fab to see all your sweet flowers.


First things first

As the pattern involves sewing together small pieces of fabric I shorten the stich length on my sewing machine to around 2. I also use a scant ¼” seam allowance. To check the accuracy of your seam width sew a test piece of spare fabric using either a ¼” foot, if your machine comes with one, or a normal foot, and once sewn measure your seam allowance with a ruler.  You may need to adjust your needle position to get an accurate ¼” seam 


On my Janome the ¼” needle position is set at 8.3 but I tend to move it to about 8.9 – If you don’t have a ¼” foot don’t worry as you can adjust your needle position and use the edge of your standard foot as a guide or use some tape to mark on your needle plate or use a magnetic guide


Beginners’ Block


Cut out your required pieces – I have used scraps of Green and Yellow fabrics but any colours with a good contrast will work well – just have fun with your scraps – Try and use similar shades to differentiate between the stalks and the flower petals with a mix of light, medium and dark fabric.


Marking and Sewing

You can mark your sewing line on the squares by either folding and creasing with a roller or using a Hera marker or pencil


On the reverse of the (6) 2”x2” flower petal squares
mark, crease or draw a diagonal line from corner to corner across the square


With RIGHT sides together and following the diagram place (4) of the marked squares lining up with the top edge of:

(2) 5”x 2” rectangles

(2) 3 ½ ” x 2” rectangles

Also, place the remaining (2) flower petal
squares with (2) of the 2”x2” Green Stem squares


Either pin or clip the fabric pieces RIGHT sides together to stop them slipping whilst you sew on these lines – I usually chain sew pieces and start sewing using a small scrap of offcut fabric so that the thread doesn’t catch or bunch-up under the needle.


Join the pieces by sewing directly on the marked diagonal line.


Trimming


Using an ‘Add a Quarter’ ruler or other measuring ruler place it so the ¼ “ line is directly on top of the sewn line of stitching and the edge of the ruler is ¼ “ away then trim the excess with a rotary cutter as in the diagrams 


Press open the seams on all 6 pieces of fabric and lay out all your sewn pieces together with the (1) remaining unsewn 3 ½ “ x 2” rectangle and the (2) unsewn 2” x 2” squares.


Following the diagram sew the pieces RIGHT sides together using a scant ¼ “ seam as shown to get (4) 6½ “ x 2” strips


Finally, sew the (4) strips Right sides together using a scant ¼ “ seam


 And Voila – hopefully you will have your completed block


Intermediate Block


This block is very similar in design to that of the Beginner block but uses narrower pieces of fabric and although it looks complicated the piecing follows the same steps with an additional initial step of joining fabric strips to make the ‘stem’ pieces.


Cutting Out

*Read through before cutting out* as you may want to chain piece long 1” strips together from your stash beforehand and then cut to the smaller sizes


From your stash you will need the following pieces for your stalks

(4) 5 ½ “ x 1”

(4) 4 ½ “ x 1”

(6) 3 ½ “ x 1”

(4) 2 ½ “ x 1”

(4) 1 ½ “ x 1”

(3) 1 ½ “ x 1 ½ “


And the following contrasting coloured pieces for your petals

(9) 1 ½ “ x 1 ½ “


Marking and Sewing

With a scant ¼ “ seam sew together the matching lengths of 1” wide strips in pairs so you get:

(2)  4 ½ “ x 1 ½ ”

(3)  3 ½ “ x 1 ½ ”

(2)  2 ½ “ x 1 ½ ”

(2)  1 ½ “ x 1 ½ ”


Press seams to one side


Follow the beginners’ pattern by marking a diagonal line across the reverse of all the (9) 1 ½ “ x 1 ½ “ petal
squares.


In the same way as with the beginners’ pattern place (6) of the petal squares Right sides together across the
top width edge of:

(2) of the 5 ½ “ x 1 ½ ” rectangles

(2) of the 4 ½ “ x 1 ½ ” rectangles

(2) of the 3 ½ “ x 1 ½ ” rectangles


And the remaining (3) petal squares Right sides together with the (3)  1 ½ “ x 1 ½ “ stalk squares


The marked diagonal line should run from bottom LEFT corner to the top RIGHT corner


Sew directly on the marked line of all (9) pieces


As described in the beginners’ pattern measure

the ¼ “ seam and trim off of the excess  


Press seams open


Following the design and with Right sides together continue to join the strips together in rows and then the
rows together using the same scant ¼ “ seam allowance pressing your seams open as you go to reduce bulk with such small fabric pieces


Give your block a good press and sit back and admire your pretty flowers


And can you believe that’s the end of the blocks for our 10 week sewalong. Come back next week for the instructions for the sewalong bucket bag or use any bag pattern to showcase your lovely blocks.


Visit our designers on Instagram to see their versions of this block : @cotefleurie @getahashtagkim @JustSewSue @lisasew @metroquilter @picosailors @pippaspatch @quirkyhannah  @surfseasew @therunninghare


#scrapbagsampler


Scrap Bag Sampler Week 9 – FPP Log Cabin


Foundation Paper Pieced Log Cabin by @Lisasew


This week it’s the lovely Lisa and her beginner friendly FPP Log Cabin block… I’ll leave you in her capable hands to explain! You can download the pattern here!

I’ll cover the basics of the foundation paper piecing (FPP) technique. I find this works really well when using very small pieces to give a really accurate finish.

This block is a great way to start FPP, so whether this is your first time at FPP, you will hopefully find this an easy introduction to it, or if you are a bit more experienced you will know that this will give you a nice crisp block.

What you will need:

 1.25” minimum square (centre piece)

A variety of fabric strips a minimum of 1.5” wide, and up to 4.5” long*

Printed template

Thread

A light box can be helpful (I don’t use one most of the time)

Pre sewing instructions:

Print out your template, make sure you print at 100%. Print on the cheapest printer paper you have as the thinner it is the easier it is to rip out at the end.

Reduce your stitch length, I usually use about 1.5. The stitches need to be small to  secure as you rip out the papers at the end. They act like a perforation in the paper.

When you are sewing, the template will be facing upwards so you can see the image and the fabrics will be underneath.

Select your fabrics, I have used a contrast of low volume prints and scrappy colours. You can use any colour combination but I recommend a contrast to give you definition in the block.


Here you can see a pink & blue combination as an example.

Begin Sewing:

Take piece one and place it so that it covers the block A1 on the reverse side of the template. The piece will lay with the wrong side on the paper and the right side facing out. Make sure that you have a seam allowance covering all the lines around A1. I secure this with a pin running along the line between A1 & A2.

Flip over the template and then with fabrics RST (right sides together), place A2 so raw edges cover seam allowance over A1/A2. Here I readjust my pin from the pattern side to secure A2 to A1.

If you pin along the line you will be sewing then you can flip A2 to double check it will cover the area it is meant to, including the overhang to seam allowances.

Sew along the line. I like to start a bit before the actual line and carry on beyond. If you do this there is no need to lock the stitches here as the next round of pieces will secure these pieces.

Before I do any trimming I press the piece open and hold to the light again to double check it has covered the right space. (When doing trickier angles than we have here it is easy to misjudge the angle and find it needs moving).

When I’m happy it is correct, I fold A2 back to its sewing position to trim the seam allowance of A1 & A2. Normally I would trim back to ¼” but as this is quite small I would go just a little narrower than that, to avoid bulk. Then replace A 2 back to its pressed position.

Piece A1 is the only piece we place facing out, all the remaining pieces are now added in number order in just the same way we added A2.

Take A3, and place RST over the line covering A1/A3 and Pin from the pattern side. Again flip over the fabric to double check it is going to cover the area A3, then if happy, sew along the line. Press, check and trim seam allowance.

Continue until the block is complete.

I trim the block down making sure the final block measures 4 ½” and I would normally leave the papers in until I am ready to attach to the next block. If you find the block is an eighth of an inch smaller than 4 1/2 “ just square it up as you will have enough excess fabric on this final round.

Watch my stories on Instagram as I will have some more pictures on the pattern release and maybe a video if I dare! Good Luck, and thanks for joining us sewing along. Lisa

Scrap Bag Sampler Week 8 – Wonky Cross


Wonky Cross Block by @therunninghare


How is it week 8 already?! This week we have the lovely Carol’s wonky cross pattern.

This block may be simple but it is extremely versatile.

Firstly, it can be any size, and need not be square although square and  rectangular blocks are the most common. It can be made as a plus (+) or a cross (x) and the strips can be thick or thin and multicoloured in a variety of ways.


To make the block:


1. Cut a square slightly larger than the size of your unfinished block (as our blocks are 2,4 or 6 inches finished then that would be 2.75, 4.75 or 6.75 inches)


2. Make a cut using a ruler and rotary cutter in one direction on your square. 


3.  Insert and sew a strip of contrasting fabric between the 2 halves of your square. Press to the inserted strip.


4. The strips can be any width but smaller than ¾ inch isharder to sew  and wider strips ( more than 1.5 inches) are only suitable for bigger blocks. A good size to cut is 1.25 inches for these smaller blocks. Strips can also be tapered so that they are thinner at one end to give a different look


5. Make a cut in the opposite direction and insert another strip of fabric between the 2 halves. Depending on your preference, you can line the cross strip up on the two halves exactly or leave it not matching to give a slightly staggered effect.


Press to the inserted strip.


6. Trim your block to size.


Interest can be added by adding flashes of colour to the strips- see photos of different types- stripes, middle squares in the cross etc  The photo mosaic shows a variety of different blocks of this type


Visit our designers on Instagram to see their versions of this block : @cotefleurie @getahashtagkim @JustSewSue @lisasew @metroquilter @picosailors @pippaspatch @quirkyhannah  @surfseasew @therunninghare

#scrapbagsampler


Scrap Bag Sampler Week 7 – Pop Goes The Weasel


‘Pop Goes the Weasel’ – @picosailors


You will need:

Assorted 3” scraps:

Four for the middle convex, four for the outer concave pieces

(Four border strips: Two 1.5” x 4.5”, two 1.5”x 6.5”)

Template


Print your template here. Using your paper template cut out your first quarter circle block. Use this as your template for the next three, (if you are fussy cutting) by placing it on the fabric and drawing around to get exactly the same pattern position.

Cut four outer concave pieces.


Pin your concave block to your convex block at your starting point. Sew together easing the block round

without stretching. Keep the concave block on the top.

(Don’t worry if they don’t quite meet at the end as you have plenty of wiggle room when you trim)


Snip the seam to help it lie flat. Open the seam using your thumb nails to press it.

Iron it well, I like to use steam.

Make all four blocks and then trim to 2 ½ ” square.

(Make sure when you trim that you have at least a quarter of an inch at the end of the outer fabric and they are all trimmed the same so they match up).

Sew your blocks together in pairs then into four, carefully matching all your seams.


Trim your block to 4 ½”


If you want a larger 6 ½” block add a 1 ½” border to each side.

Voila! And there you have it!

Note on templates: I have some acrylic templates from @pappersaxten which are very

useful if you plan on making lots of these blocks.

Visit our designers on Instagram to see their versions of this block : @cotefleurie @getahashtagkim @JustSewSue @lisasew @metroquilter @picosailors @pippaspatch @quirkyhannah  @surfseasew @therunninghare


#scrapbagsampler

Scrap Bag Sampler – Week 6 Improv Heart

Improv Heart Block

Wow week 6 already and it’s a good one! The lovely block below is from Pippa.

It’s my turn to post a block in our super scrappy scrap bag sampler. I’ve chosen an improvised/crazy heart. It is Valentine’s day after all, what else could it have been.


I’m not an improv quilter and I really like following a pattern but when my scraps build up I make scrappy improv shapes and I’ve been known to make them into Valentine’s cards or quilt blocks. Stars/Trees/Easter Egg’s the principle would be exactly the same.


Gather scraps together and cut the background square.I like to cut my block down at the end so for the 6” block cut a 7” background.

Put two fabrics right sides together, you can make them wonky or straight depending on  your mood. Sew a 1/4” seam allowance ideally in matching thread.Trim any extra fabric in line with the seam, open then press. 


Choose another piece of scrap to add. Here I’ve cut  the main piece at a slant so that the third fabric will be at an angle.  Once again put the scrap your adding right side together and sew 1/4” seam.

Unfold and press.

For some added fun, you can join small scraps together in the same manner and join it to the main fabric.

Continue in this way until you have a fabric piece the size of the heart you want.  For the 6” block I think a 5” heart works well.


I like to use fusible webbing/interfacing for my applique. You can either freehand draw a heart or use a template, if you have a sizzix or a die cutter they make great templates just cut them in cardstock.Draw the shape onto the non shiny side (the non glue side) of the interfacing.


Use a light box or hold the heart up to a light source, lamp or window and just check that the scrappy fabric has a 1/4” allowance around the drawn heart.


Sew directly on the drawn line, I use a 2mm stitch and I start on a straighter side and always backstitch at the beginning and the end. Cut around the heart leaving a 1/4” seam allowance, clip into the corners and the V do not cut through the stitching. Carefully lift up the interfacing and slit a cut into it so that you can turn the heart right side out. Turn and carefully push corners and curves out. DO NOT IRON


Grab your background square, fold it in half and align your heart on the right side of the fabric. I also like to be a bit wonky when I’m doing these and the quilt police won’t get us if they aren’t straight.  

Now is the time to get busy with the iron, gently press and the fusible interfacing will stick the heart to the background.


To finish the block you could leave it as it is, especially if the item isn’t going to be washed much, you could blanket stitch it by hand, try some hand embroidery which is what is generally done here in France, lots of elaborate stitches in multiple colours, perhaps use some ribbons or lace or just get busy with those fancy stitches on your machine. Then trim block to desired size, in my case 6 1/2″

On the little block I used some 12wt Aurifil and stitched a rough 1/8” topstitch inside the heart. This one is a longer “country style” heart and was freehand drawn. The large heart I used a blanket stitch and then lots of different embroidery stitches on my machine using Aurifil 50wt.


As you can see this method is really versatile and great for using up your scraps of any colour and any size.  There’s no limit to the number of colours on each block, the number of scraps, threads or stitches.

Visit our designers on Instagram to see their versions of this block : @cotefleurie @getahashtagkim @JustSewSue @lisasew @metroquilter @picosailors @pippaspatch @quirkyhannah  @surfseasew @therunninghare


#scrapbagsampler

Scrap Bag Sampler Week 5 – Four in a row

This week is all about fussy cutting and with this hexagon block designed by @cotefleurie

Now who doesn’t love a hexie?

Materials:

  • 7 x 3 inch background fabric
  • Assorted scraps for hexagons
  • Template plastic
  • Water based glue stick

Make a plastic template of the ¾ inch hexagon shape. Note that the template does not include seam allowances. Free hexagon templates are available to download from www.moxyideas.com

Choose your fabric for the hexagons. If you wish to fussy cut your fabric, choose the motif or pattern you wish to highlight and place the template accordingly on the WS of the fabric. Draw round the template and then cut out the hexagon, being careful to add ¼ inch seam allowance all the way around.


Cut out 4 paper templates using the plastic hexagon template. No seam allowance needs to be added to these paper templates.

Glue baste the hexagons. Place the paper templates on the WS of the fabric hexagons making sure they are centred. Put a thin line of glue on one outside edge of the paper hexagon and fold the fabric seam over to glue in place. Continue around the hexagon shape until all the edges of the hexagon have been folded over and glued. Leave to dry. If preferred the hexagons can be thread basted.

Decide on the layout of your hexagons and join them into a row of four. This can either be via whipstitch or a flat back stitch as shown by Karen at www.thediyaddict.com

Try not to sew through the papers as this will make it more difficult to remove them.

Press the row of hexagons. Using tweezers, gently pull back the glued seam allowances and remove the papers. Fold the seam allowances back in place and press again on the back and the front, checking that the hexagons have not been distorted.

Centre the row of hexagons on your background fabric and pin in place. Using thread to match the hexagons, hand appliqué in place using fell stitch/appliqué stitch: bring your needle up through the hexagon fabric very close to the folded edge, then back down into the background fabric right next to the folded edge, making a tiny stitch. Bring the needle up again through the hexagon fabric approx. ⅛ inch further along. Repeat until the hexagons are stitched in place, making sure that the points of the hexagons are secured and that any excess fabric from the seam allowances is tucked under before stitching in place.

If preferred the hexagons can be appliquéd in place by machine. Press the finished block and trim to 6½ x 2½ inches.

Visit our designers on Instagram to see their versions of this block : @cotefleurie @getahashtagkim @JustSewSue @lisasew @metroquilter @picosailors @pippaspatch @quirkyhannah  @surfseasew @therunninghare


#scapbagsampler

Scrap Bag Sampler Week 4 – HSTS

Half Square Triangles @Metroquilter

Now who does not love a good half square triangle (HST). The very first quilt I did was full of these and is still in used being loved by the not so little girl today.

Amanda has a lovely tutorial below for those who are dipping their toe in!

Those who follow @metroquilter on Instagram knows she loves half square triangles. Some comments on the various methods

I’ve tried lots of methods over the years but the method I prefer is to chain piece my triangles and then trim to size. Other methods include a) foundation paper pieced -which I find accurate but fiddly b) piecing to size without trimming – never worked for me! c) 4 in 1 – lots of bias edges and still have to trim.

Today we are going to make four 2.5inch half square triangles, with the final piece being 4.5inch square.

Requirements 

4 x 3″ squares from your scraps


Instructions

Step one: 

Place two squares right sides together. You will have two sets of two                                                              

Step two:

Cut once from corner to corner on the diagonal. This will give you four sets of triangles (you may want to mix the triangles up to ensure all four of the finished HST are different. Just remember that the triangles need to be right sides together).


Step three: Chain piecejj

Chain piece the triangles, using a quarter inch seam allowance. Snip the threads between them


Step four: 

Press each of the seams to the dark side. You will now have four half square triangles ready for trimming.         


Step 5: 

With your ruler align the 45 degree line with the diagonal of the block. Ensure that a 2.5 inch square can be made and trim the first two sides of the block.


Step 6: Turn the block 180 degrees and again with

Turn the block 180 degrees and again with your ruler align the 45 degree line with the diagonal of the block. Keep the ruler square with the two sides you have already trimmed, and trim the remaining two sides to make a 2.5 inch square.    


Step 7: 

Arrange your four trimmed blocks as desired into a square arrangement.                     

Step 8: 

Sew the top two blocks together and the bottom two blocks together using a quarter inch seam. Press the top and bottom set in the opposite directions. Place the two sets of two blocks right side together, nesting the seam. Sew together using a quarter inch seam.    


Step 9: 

Press the seams and you’re finished. Thefinished block will be 4.5 inch square.          


Visit our designers on Instagram to see our versions of this block : @cotefleurie @getahashtagkim @JustSewSue @lisasew @metroquilter @picosailors @pippaspatch @quirkyhannah  @surfseasew @therunninghare

#scrapbagsampler


Scrap Bag Sampler Week 3 – Two Tone Wonky Star


Two Tone Wonky Star Tutorial – 6 “ finished

Today you are in for a treat as it is my  turn on the schedule! We are going to make a variant of the wonky star. Do you have lots of little pieces of offcuts hiding in your stash bucket? These will be perfect for the star points.

If you don’t fancy doing a little star or two tone- see here for variants on the pattern including upsizing to 12” finished, using one fabric or even offsetting your stars! (These will be released over the weekend)

111

Materials:

222

  • 1 x 2.5” square (centre)
  • 8 x 2.5” square (background and star points)
  • 16 x 1” x 3” scraps for the star points

Tip: Due to the smaller pieces involved throughout the stages when pressing between each step I would recommend finger pressing or using a seam roller to avoid distortion of the seams/fabrics. Once the block is assembled press using an iron to set the seams and ensure a smoother look.

Tip: Some of you may prefer longer or fatter stars in which case adjust the size of your strips by ¼” to ½” either in length or width.

 Method

1 – Take a background 2.5” square and the rectangle piece to be the outer point of the star. Lay it right side down on top of the square on the top right side. Changing the angle of the way it is laid down will affect the wonk of the star point. As a guide I normally start it about half way across the square when you stitch. Ensure both ends of the strip extend pass the square.

Trim down to a ¼” seam then press the strip away from the background.

2 – Lay the second strip on top of the first, ensuring both ends of the strip are extending pass the square and sew along it. Press open away from the background.

4444

3 – You are now ready to work on the second side. Take the outer point strip and like the first point lay it at an angle across the top left side of the square.  The strips can overlap with the right pair at the bottom or there could be a gap- each variation affects the wonky point, just ensure the strip extends pass the square at both sides.

Sew the strip, then trim the excess fabric down to a ¼” seam. Press the strip away from the background.

Tip: If you would like your star points to be more pointy (i.e. can’t see the join of both sides, ensure that when you place the second section, the part where they overlap on the sewn line is ¼” or less from the edge of the block.

4 – Take the inner star point strip and lay it across the opened strip, ensuring it extends pass the square. Sew and press the strip away from the background.

5555

5 – You are now ready to square up your star point! Trim the piece down to 2.5” square.

6- Repeat this 3 more times to have 4 star point squares.

7- Lay out your star points, the centre fabric and background corners in your desired layout of 3 x 3.

Sew each row separately and press seams to the side. For the top and bottom row press the seams away from the centre square (star point). Then the middle row press seams towards the centre. This will help the seams sit together (nest) for a flatter block.

6666

Sew the rows together and as the seams on each row have been pressed to alternative sides, it is easier to line the rows up as the seams sit neatly next to each other.

Hopefully you are all still with me! And your block is now done!

Don’t forget to use the hashtag #scrapbagsampler on IG to show us your version or one of the variations.

Scrap Bag Sampler Week 2 – Strippy Curves


STRIPPY CURVES

Today @getahashtagkim has come up with a fun and different block for you to try out and experiment a little bit out of your comfort zone!

Don’t be alarmed- curves and improv aren’t as tricky as you may think! In the following Kim will take us through gentle improv and a no pin style of sewing. Stay with me…


Cut four 9½ x 2½ inch strips. Lay four 9½ x 2½ inch strips in your chosen order.


Then take two strips and overlap them by about an inch as shown with pin markers.


Using a small rotary cutter, cut through both layers where they overlap, making small curves. Go slowly to avoid shifting the two strips, pin them together at the far end if it helps. Discard the narrow scraps. Admire your hills and valleys.


Cut and sew each pair of strips one at a time to ensure the curves match. Those straight sides in the middle will be cut and sewn later.

Take one pair & sew along the curvy edge RIGHT SIDES TOGETHER using a narrow seam allowance, 1/8th inch is easier than trying for a normal ¼ inch.

You don’t need pins, trust me! Just go slowly, carefully lifting & turning the top layer as you go to align the edge with that of the bottom layer. Don’t pull or you’ll stretch the fabric. You may only manage a couple of stitches at a time before you have to leave the needle down and raise the foot to work around the curves and wriggle the fabrics but it will work.


It may look like a mess right now but go with it, it will press flat, just take it slowly. Lay one strip flat on the ironing board, hold the other one up and gently nudge the tip over the iron along the seam allowance to press it over to one side.


Overlap then cut the remaining straight sides as shown earlier. Sew and press as before. Give the block a final press, then trim to a 4½ x 8½ inch block. Look forward to seeing your curves!


Visit our designers on Instagram to see our versions of this block : @cotefleurie @getahashtagkim @JustSewSue @lisasew @metroquilter @picosailors @pippaspatch @quirkyhannah  @surfseasew @therunninghare

#scrapbagsampler